¶ Uploading Content to a Managed Module
After submitting an unmanaged Module to the Module Store, which creates a Managed Module in the process, you need to add your content as a Content Version for the Module.
To do this, first open the Module Store panel in the Moduverse Overlay and click the Sync Modules button at the top of the panel.
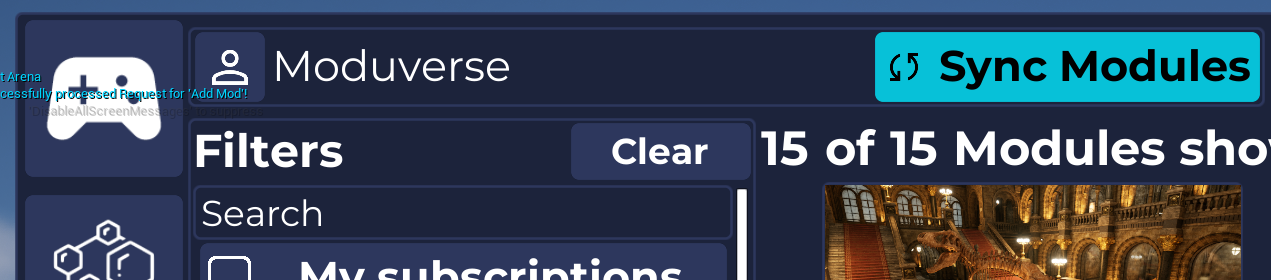
After that, click the Profile button to the left of your name in the Module Store.
This will open your User / Creator Profile page.
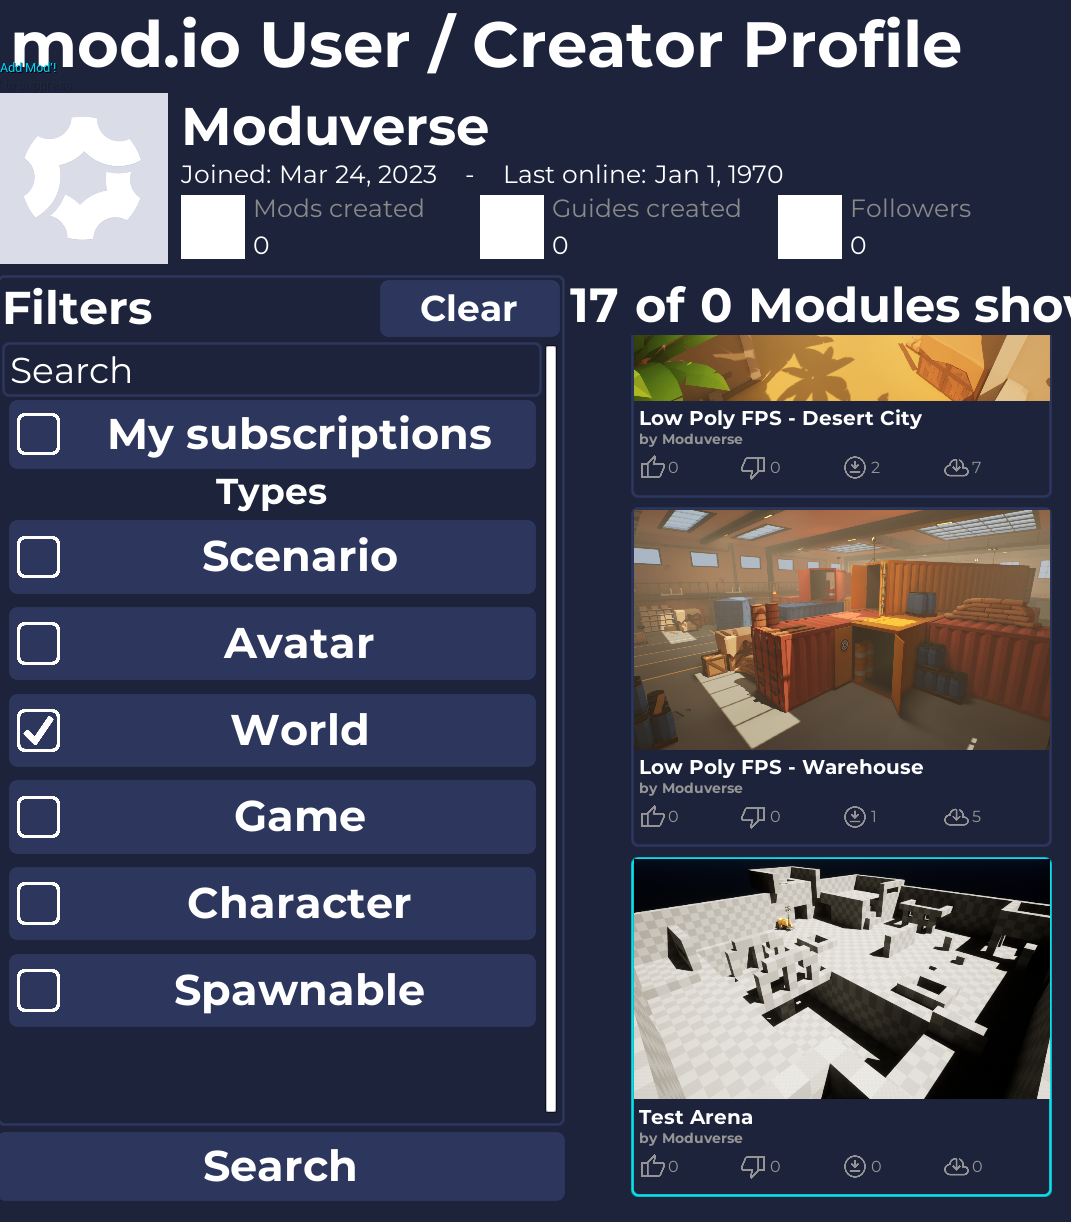
This page includes its own Module Browser, which is unique in that it also displays Modules you have submitted even if they do not contain a valid content version.
The regular Module Browser filters out such Modules.
If the Module you want to upload content for is not visible, make sure you have clicked the Sync button in the panel beforehand.
Only by doing so newly submitted Modules are synced from the Module Store to your local client.
Locate the Module you want to upload content to and click on it.
This will open the full page for the Managed Module. On the top-right, you will see several buttons.
Since you are the owner of this Module, an Edit button (displayed with a pen icon) will be available.
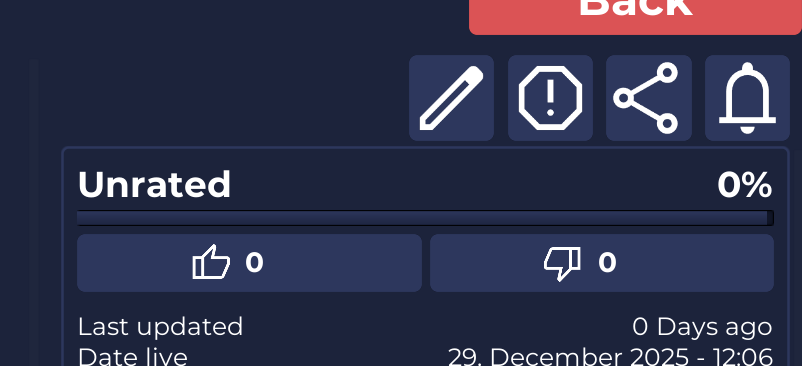
After clicking the Edit button, a new panel will appear, allowing you to edit the Managed Module.
In this panel, there is also a button to add files, which means you can add Content or Content Versions to the Module.
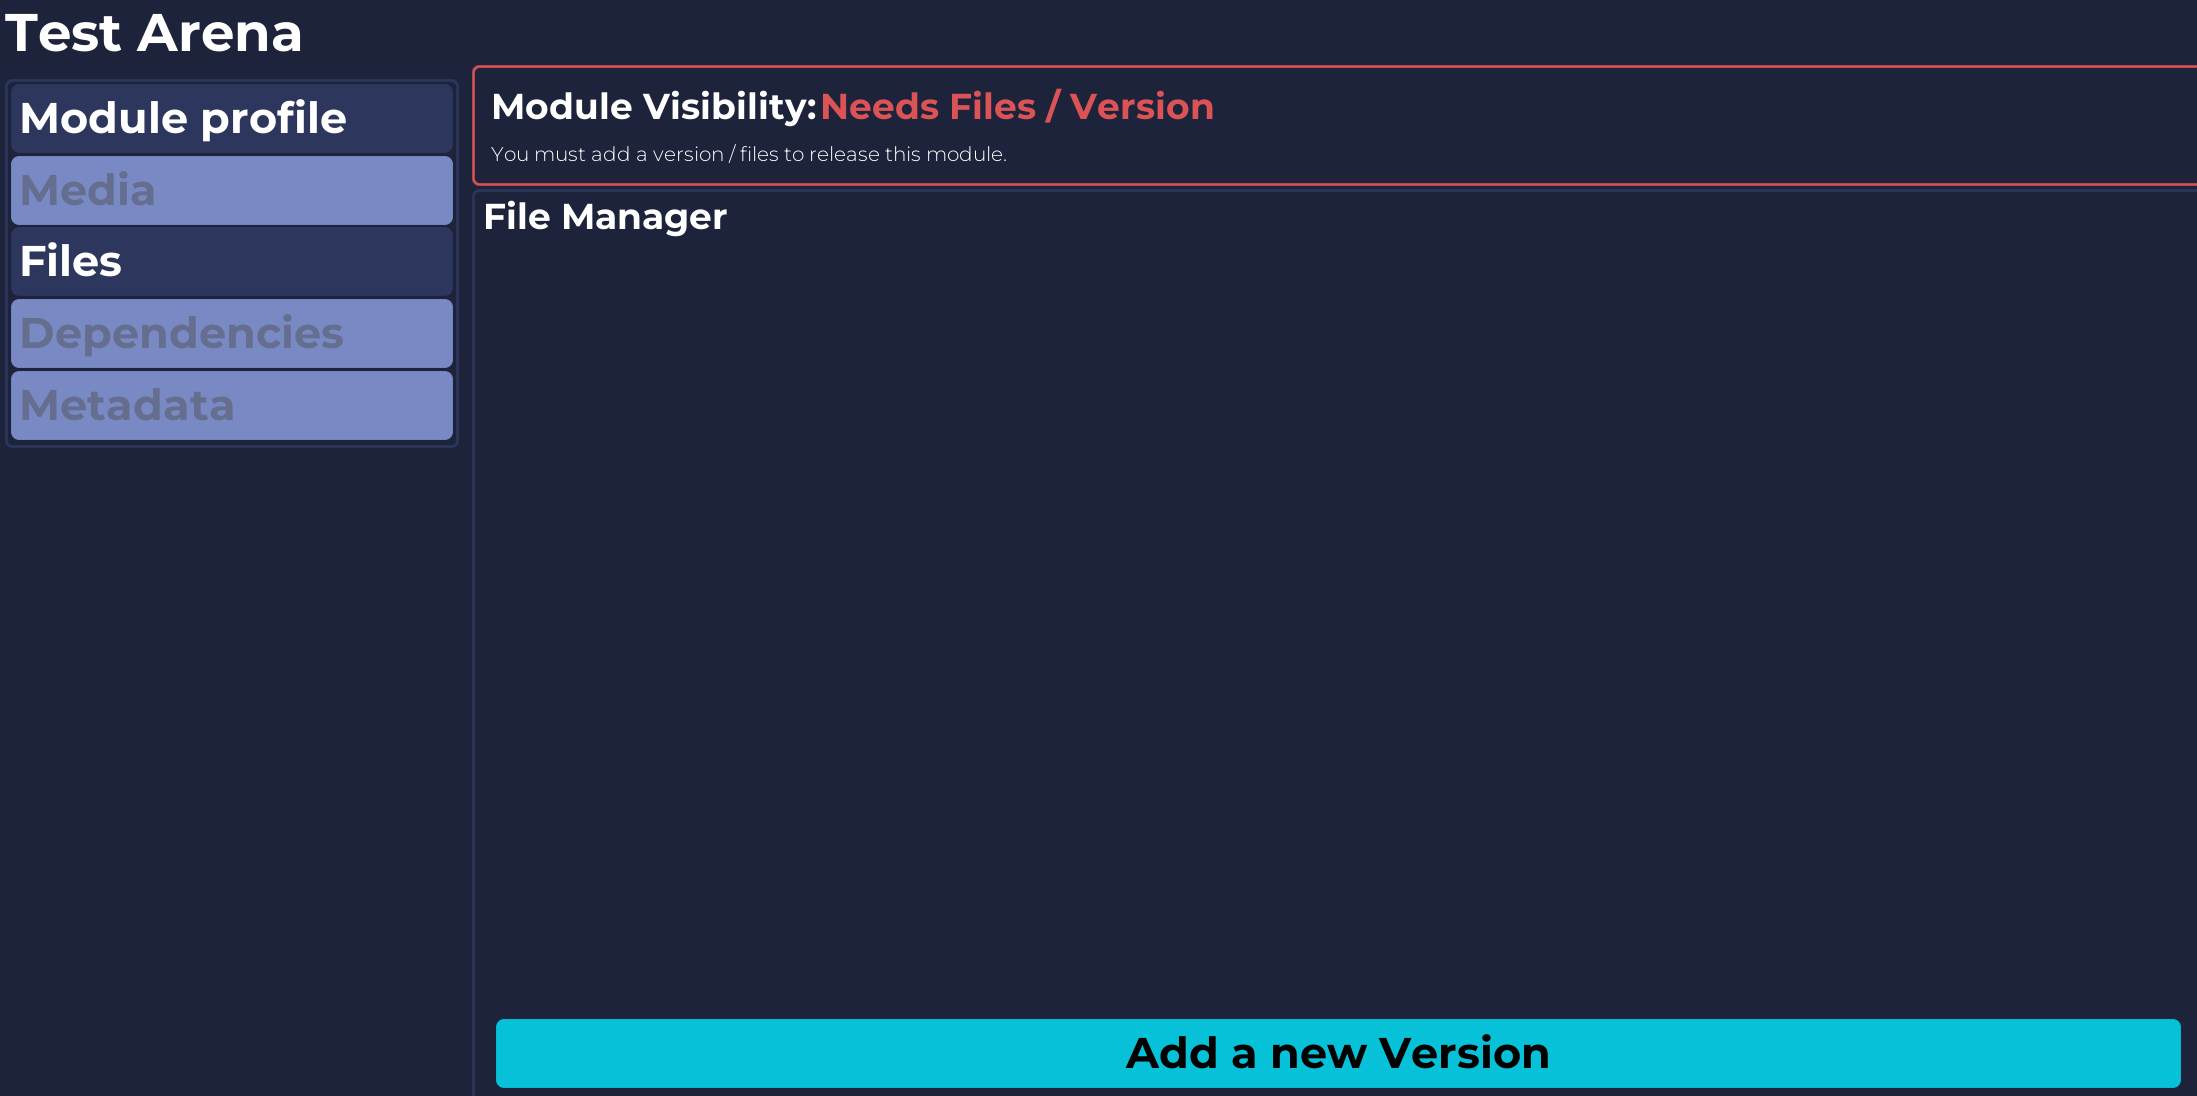
Click the “Add a New Version” button at the bottom to add a new version.
Versions are separate sets of content, allowing a single Managed Module to have multiple versions.
This also makes it possible to update a Module later without breaking other content that depends on an earlier version.
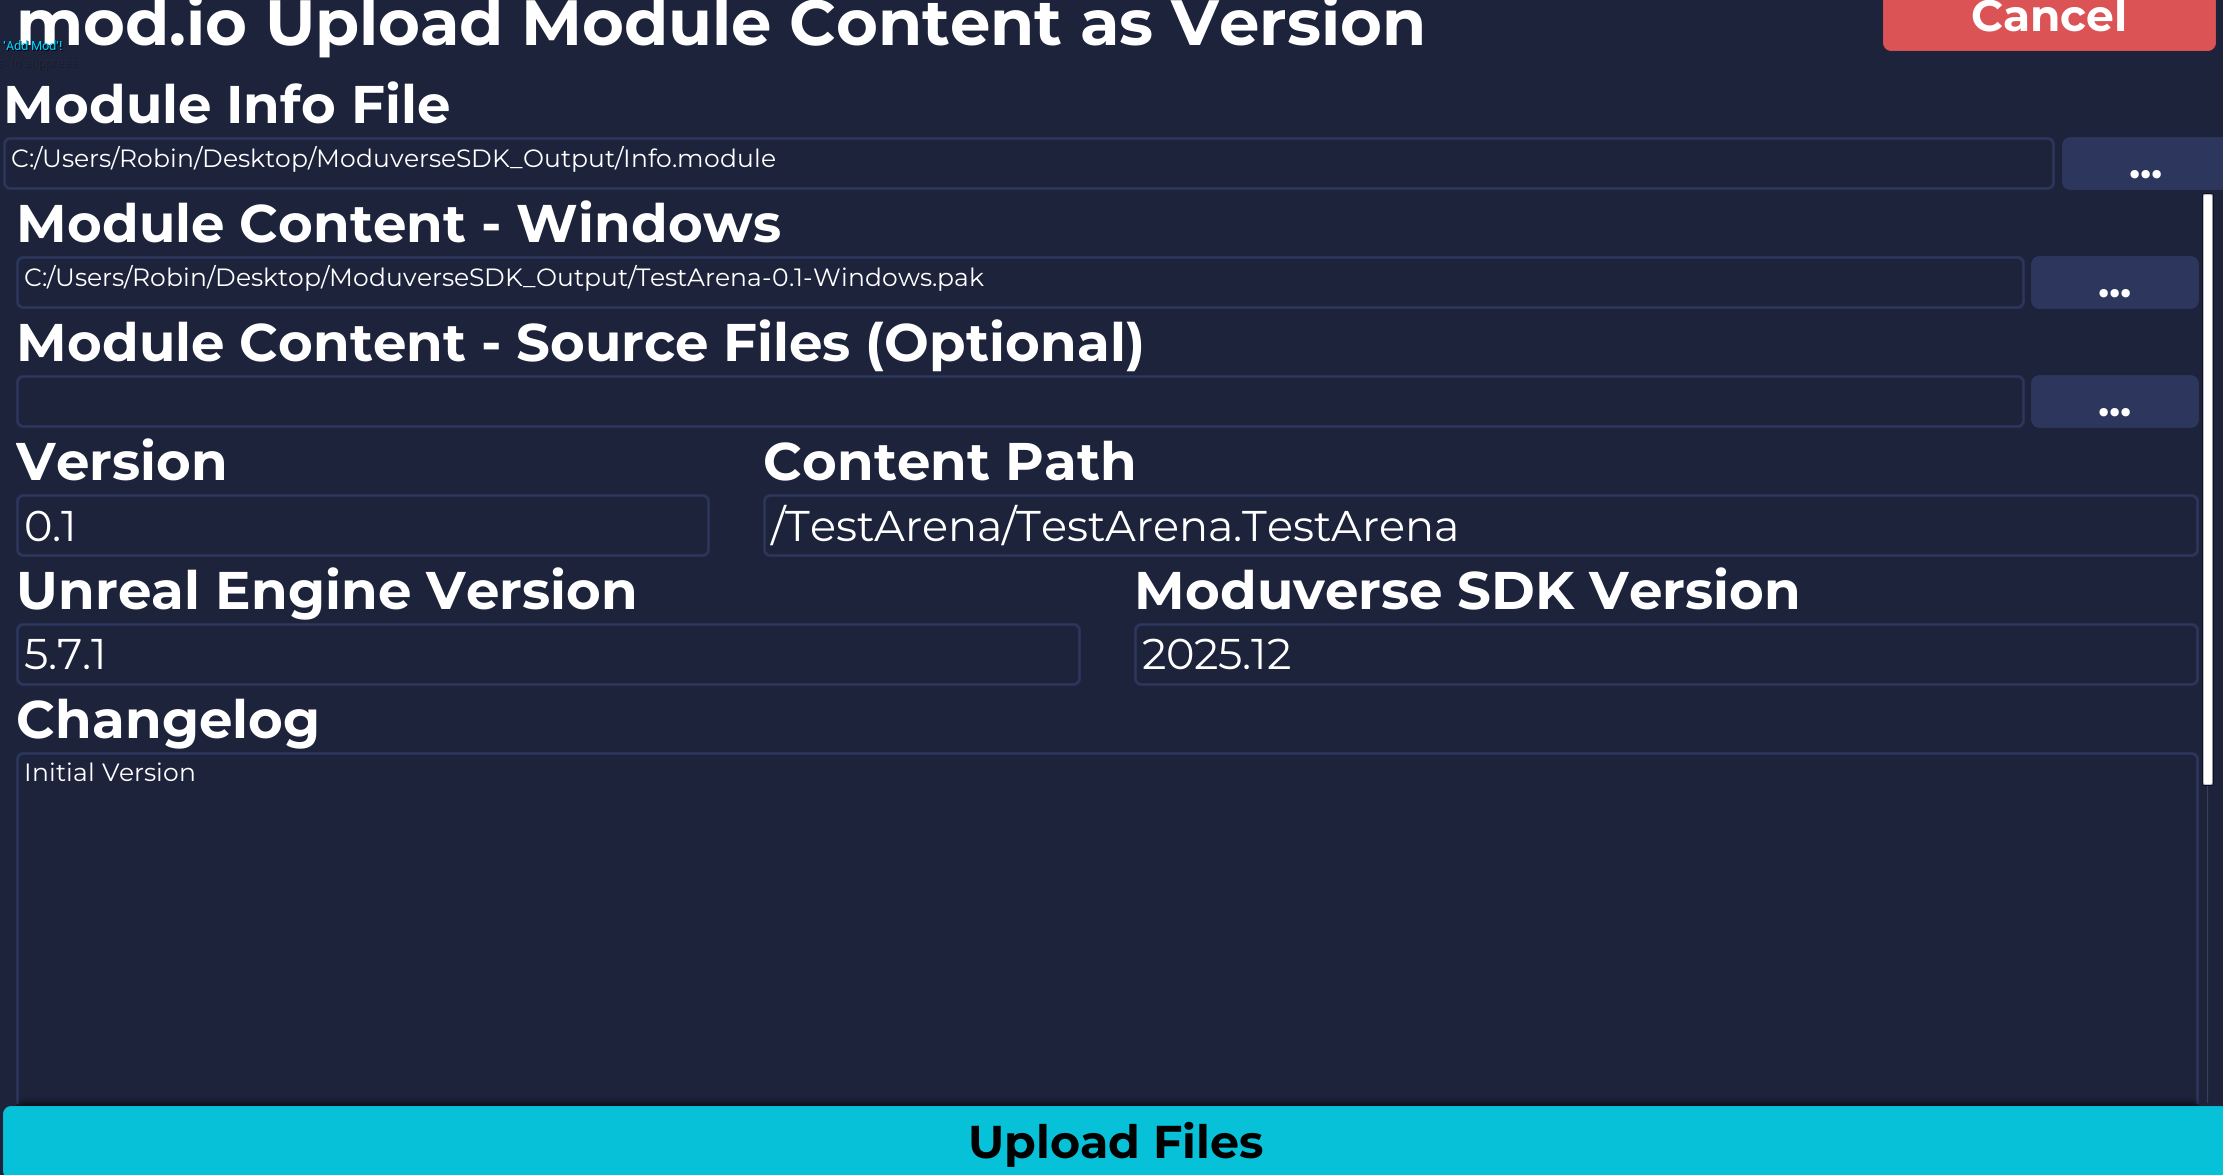
Click to open the file dialog and select your packaged Module’s .module file.
All other fields should be filled in automatically, except for the Module Content.
For the Module Content, you need to manually select the .pak file that was created alongside your Module by the Moduverse SDK.
You can also add notes in the Changelog if you wish.
When you’re finished, click Upload Files, and the upload will start automatically.
During the process, your content is split into individual 50 MB chunks and uploaded part by part.
Once the upload is complete, you will receive a notification.
Congratulations! Your Module is now ready to be used by others and will appear in the Module Store for all players.
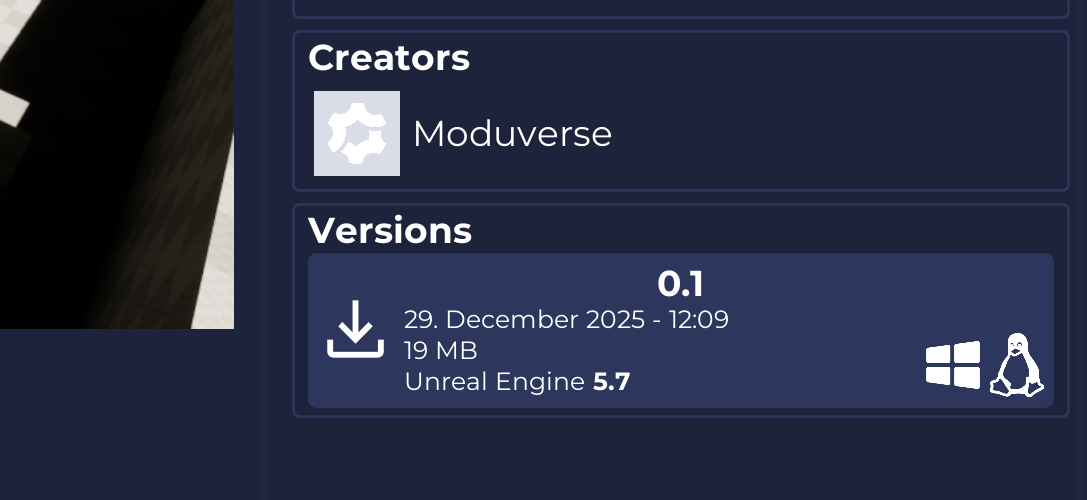
After locating the Module in the Module Store Browser, the new version will be listed on the Managed Module’s page.
To use your Module, you now need to create a Scenario that includes it.
This page explains how to do so.